Posts in Category: Technology

  • What a Cloudflare Tunnel is and why someone might use one

    What a Cloudflare Tunnel is and why someone might use one

    If you’ve been exploring modern web infrastructure, you might have come across the term “Cloudflare Tunnel” and wondered what it actually is. Cloudflare Tunnels are a powerful tool that allow you to securely expose local services to the internet without opening up your firewall or exposing your public IP address.

    Understanding the Core Concept

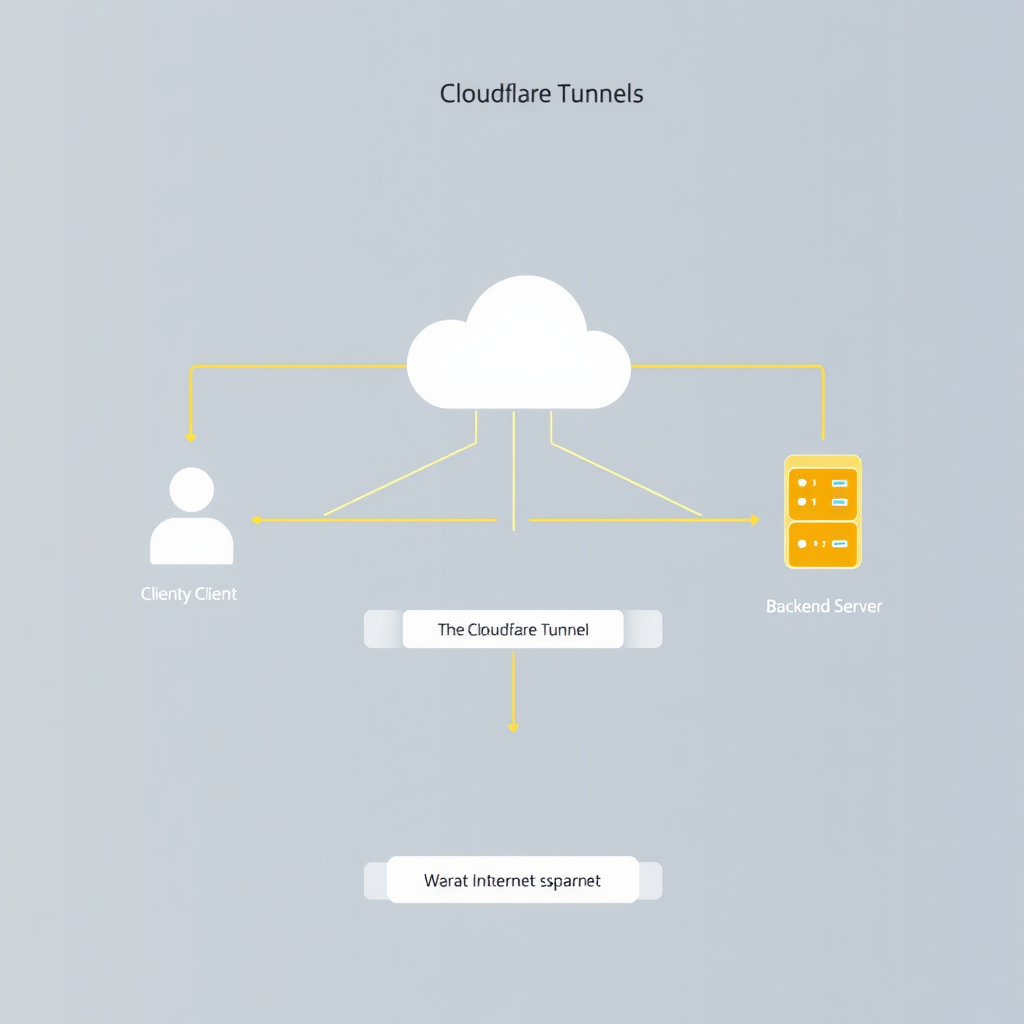
    At its simplest level, a Cloudflare Tunnel creates a secure, encrypted connection between your local machine or private network and Cloudflare’s global edge network. Instead of directly connecting to your server’s public IP (which would require port forwarding and expose your network), you connect through Cloudflare’s infrastructure, which acts as a secure intermediary.

    Key Components of a Cloudflare Tunnel

    There are a few key components that make Cloudflare Tunnels work effectively:

    • Cloudflare Access: Manages who can access your applications through identity-based access controls.
    • Tunnel Servers: Run on Cloudflare’s edge network and securely relay traffic to your origin.
    • Client Connectors: Software you install on your local machine or server that establishes the tunnel.
    • Tunnel Configuration: Defines which origins are accessible and how traffic is routed.

    Why Use a Cloudflare Tunnel

    1. Enhanced Security

    The primary benefit of Cloudflare Tunnels is security. Instead of exposing your application directly to the internet, you connect through Cloudflare’s secure infrastructure, which:

    • Eliminates the need for public IP addresses
    • Provides built-in DDoS protection
    • Offers SSL/TLS encryption by default
    • Hides your true network location

    2. Simplified Network Configuration

    Traditional port forwarding can be complex and error-prone. With Cloudflare Tunnels, you don’t need to:

    • Configure firewalls to allow specific ports
    • Deal with NAT traversal issues
    • Expose your internal network to the public internet
    • Worry about IP-based restrictions

    3. Flexibility and Control

    Cloudflare Tunnels offer flexibility that traditional methods lack:

    • Access your applications from anywhere in the world
    • Use multiple tunnels for different applications
    • Route traffic through specific Cloudflare locations
    • Control access through Cloudflare Access policies

    Common Use Cases

    Cloudflare Tunnels are particularly useful for several scenarios:

    • Local Development: Expose localhost applications to the internet for testing or demos
    • Internal Tools: Securely access admin panels or internal dashboards from anywhere
    • IoT Management: Connect to devices behind NAT without complex firewall rules
    • Backup and Replication: Securely sync data between remote locations
    • Testing and Staging: Create temporary environments that are accessible for QA

    Getting Started with Cloudflare Tunnels

    To start using Cloudflare Tunnels, you’ll need to:

    • Create a Cloudflare account
    • Set up a tunnel using the cloudflared daemon
    • Configure access rules and applications
    • Test the connection through Cloudflare’s edge network

    The best part is that you don’t need any advanced networking knowledge to get started. Cloudflare handles the complex infrastructure details while you focus on building great applications.

    When NOT to Use a Cloudflare Tunnel

    While powerful, Cloudflare Tunnels aren’t right for every situation. Avoid using them if you:

    • Need ultra-low latency for real-time applications
    • Are serving high-volume static content
    • Require direct IP address access for legacy applications
    • Have applications that don’t need internet exposure

    For these cases, traditional hosting or direct connections might be more appropriate.

    Conclusion

    Cloudflare Tunnels represent a significant evolution in how we think about secure internet access. By leveraging Cloudflare’s global infrastructure while keeping your origin servers private and secure, they solve many of the networking challenges that developers and system administrators face every day.

    Whether you’re a developer testing local applications, an administrator managing internal tools, or an organization looking for secure remote access, Cloudflare Tunnels offer a modern solution that combines security, simplicity, and flexibility.
  • Common WordPress Security Mistakes Small Sites Make

    Common WordPress Security Mistakes Small Sites Make

    WordPress powers millions of websites, from personal blogs to small business sites, but with its popularity comes increased security risks. Many small site owners make critical security mistakes that leave their sites vulnerable to attacks. Here are the most common WordPress security mistakes small sites make and how to fix them.

    1. Using Weak Passwords

    One of the most common and dangerous security mistakes is using weak passwords. Simple passwords like “password123”, “123456”, or “admin” are easy for hackers to guess through brute force attacks.

    Fix: Use strong, unique passwords for every account. Include uppercase and lowercase letters, numbers, and special characters. Consider using a password manager to generate and store secure passwords.

    2. Not Updating WordPress Core, Themes, and Plugins

    Many small site owners ignore updates, thinking they might break something or that it’s not necessary. However, WordPress updates often include critical security patches that protect against known vulnerabilities.

    Fix: Enable automatic updates for WordPress core files. For themes and plugins, you should update them as soon as updates are available. Test your site after each update, but don’t delay security-critical patches.

    3. Using Default Admin Username

    WordPress often creates admin accounts with usernames like “admin” or the site title. Hackers know this and frequently target these obvious usernames first in their attacks.

    Fix: Change the default admin username during installation. If you already have a site with “admin” username, create a new admin account and delete the old one, or use the “Create a new admin user” plugin to change it.

    4. Having Too Many Inactive Themes and Plugins

    Small site owners often install plugins and themes for future use but forget to delete or deactivate them. These inactive items create security risks because they contain outdated code that could be exploited.

    Fix: Regularly audit your installed themes and plugins. Delete unused ones completely. Keep only active, regularly updated plugins that you actually need. When installing new plugins, research their security reputation first.

    5. Not Using HTTPS/SSL

    Without HTTPS, all data transmitted between your site and visitors is sent in plain text. This includes passwords, personal information, and sensitive content. Modern browsers also warn users about non-secure sites.

    Fix: Install an SSL certificate and force HTTPS. Most hosting providers offer free SSL certificates through Let’s Encrypt. Use tools like SSL Labs to test your SSL configuration.

    6. Skipping Regular Backups

    Many small sites don’t have backup routines until it’s too late. Without backups, a single attack or mistake can mean losing all your content, users, and business data.

    Fix: Set up an automated backup system. Consider plugins that offer daily backups, or use your hosting provider’s backup services. Test that you can restore from backups regularly.

    7. Poor File and Directory Permissions

    Incorrect file permissions can expose sensitive files or allow attackers to modify your site files. Common mistakes include making directories too permissive or leaving default configuration files accessible.

    Fix: Set proper permissions: 644 for files, 755 for directories. Ensure your wp-config.php file is not world-readable. Use security scanners to identify permission issues.

    8. Not Limiting Login Attempts

    Without attempt limits, hackers can brute force passwords indefinitely. WordPress has built-in login attempt limiting, but it can be disabled or bypassed.

    Fix: Ensure login attempt limiting is enabled. Use plugins like Wordfence or Limit Login Attempts for additional protection. Consider implementing two-factor authentication for admin accounts.

    9. Using Outdated PHP Versions

    Many hosting providers still run older PHP versions that have security vulnerabilities. WordPress requires PHP 7.4+ for security updates, but some small sites run on PHP 5.6 or 7.0.

    Fix: Check your hosting provider’s PHP version and upgrade if necessary. Many hosts make it easy to switch between PHP versions through your control panel or with a simple command.

    10. Not Using Security Plugins

    Security plugins provide essential protection like malware scanning, firewall rules, and security headers. Small sites often rely on the belief that “it won’t happen to me” rather than implementing basic security measures.

    Fix: Install a reputable security plugin like Wordfence, Sucuri, or iThemes Security. Configure it properly with recommended settings. Regularly review security reports and notifications.

    Conclusion: Security is a Process, Not a One-Time Task

    Small site security doesn’t need to be overwhelming, but it does require ongoing attention. Start with the most critical fixes (passwords, updates, and HTTPS), then add additional layers of protection as needed. Regular maintenance and monitoring will keep your WordPress site secure and protect your business and reputation.

  • What a systemd timer actually does, explained plainly

    What a systemd timer actually does, explained plainly

    If you’ve spent any time working with modern Linux systems, you’ve probably encountered systemd timers. They look similar to cron jobs but work very differently. Let’s break down exactly what a systemd timer does and why it matters.

    What is a systemd timer?

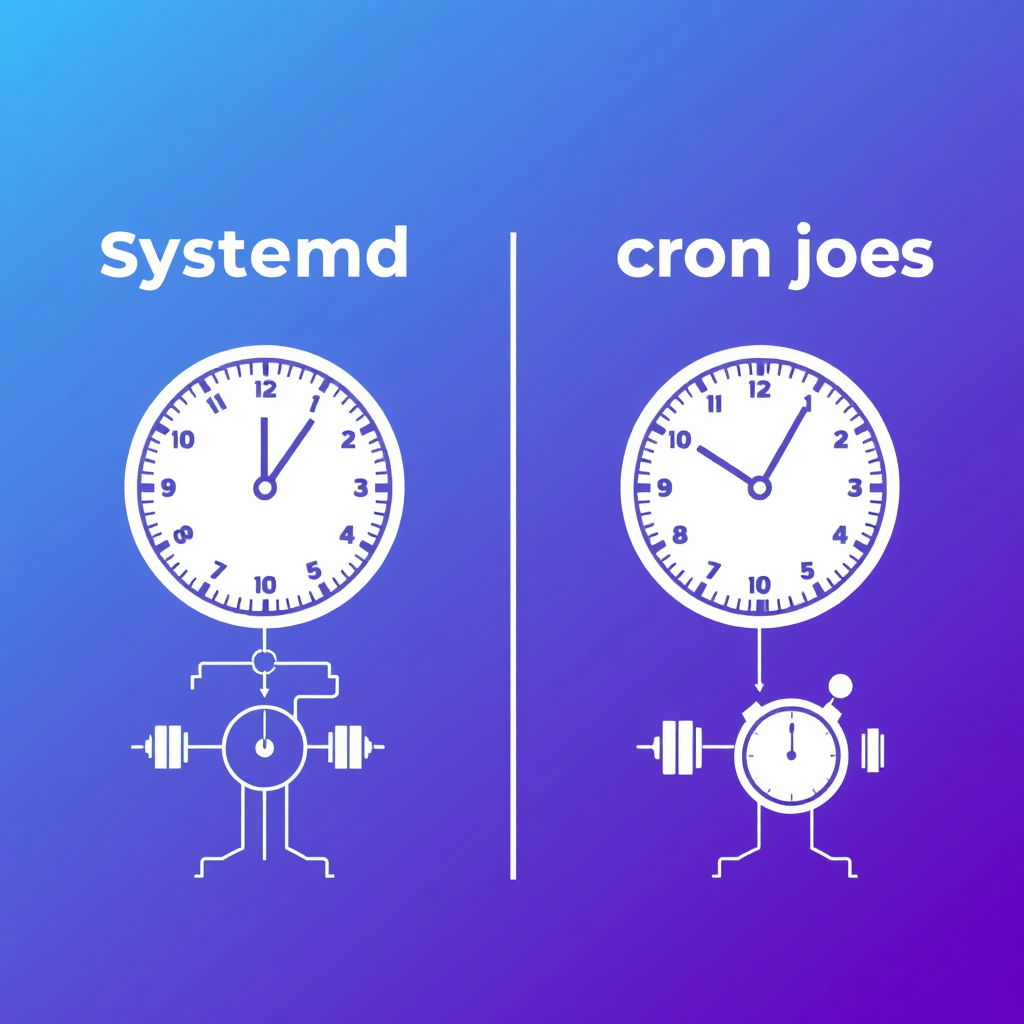
    A systemd timer is essentially a scheduled task that runs at specific times on a Linux system, but instead of being configured through cron’s text files, it’s defined as a service and timer unit in systemd. Think of it as the modern, more sophisticated replacement for cron jobs.

    How it actually works

    When systemd starts, it monitors all timer units (files ending in .timer). Each timer contains two key pieces of information:

    • A schedule: When the timer should trigger
    • A service to run: What command or program should execute

    Unlike cron which has a separate daemon checking schedules constantly, systemd timers are checked much more efficiently. The system wakes up at specific intervals to check if any timers should fire – typically every second or so. This makes systemd more power-efficient than traditional cron.

    Real-world example

    Imagine you want to automatically clean up temporary files every hour. With systemd timers, you’d create:

    A cleanup.service that contains the commands to clean temporary files, and

    A cleanup.timer that says “run every 60 minutes” and “when it runs, execute cleanup.service

    That’s it! No crontab editing, no daemon reloads. Just create these two files and systemd handles the scheduling automatically.

    Key advantages over cron

    Systemd timers offer several improvements over traditional cron:

    • Better integration with systemd’s service management
    • More precise timing with second-level accuracy
    • Dependency management – timers can depend on other services being ready
    • Better logging through systemd’s journal
    • Centralized configuration alongside other systemd units

    Common misconceptions

    Some people think systemd timers replace cron entirely, but they often coexist. If you’re already using cron, systemd timers are great for new automation while keeping existing cron jobs running.

    Another misconception is that timers always consume lots of power. Actually, systemd puts the system to sleep between timer checks, making it quite power-efficient compared to cron’s constant checking.

    Bottom line

    Systemd timers are simply scheduled tasks that work alongside other systemd services. They’re part of a larger ecosystem of system management tools that make modern Linux systems run smoothly. If you want to automate tasks on Linux, systemd timers are often the cleanest, most integrated solution available.

  • The tradeoffs of self-hosting versus managed WordPress hosting

    The tradeoffs of self-hosting versus managed WordPress hosting

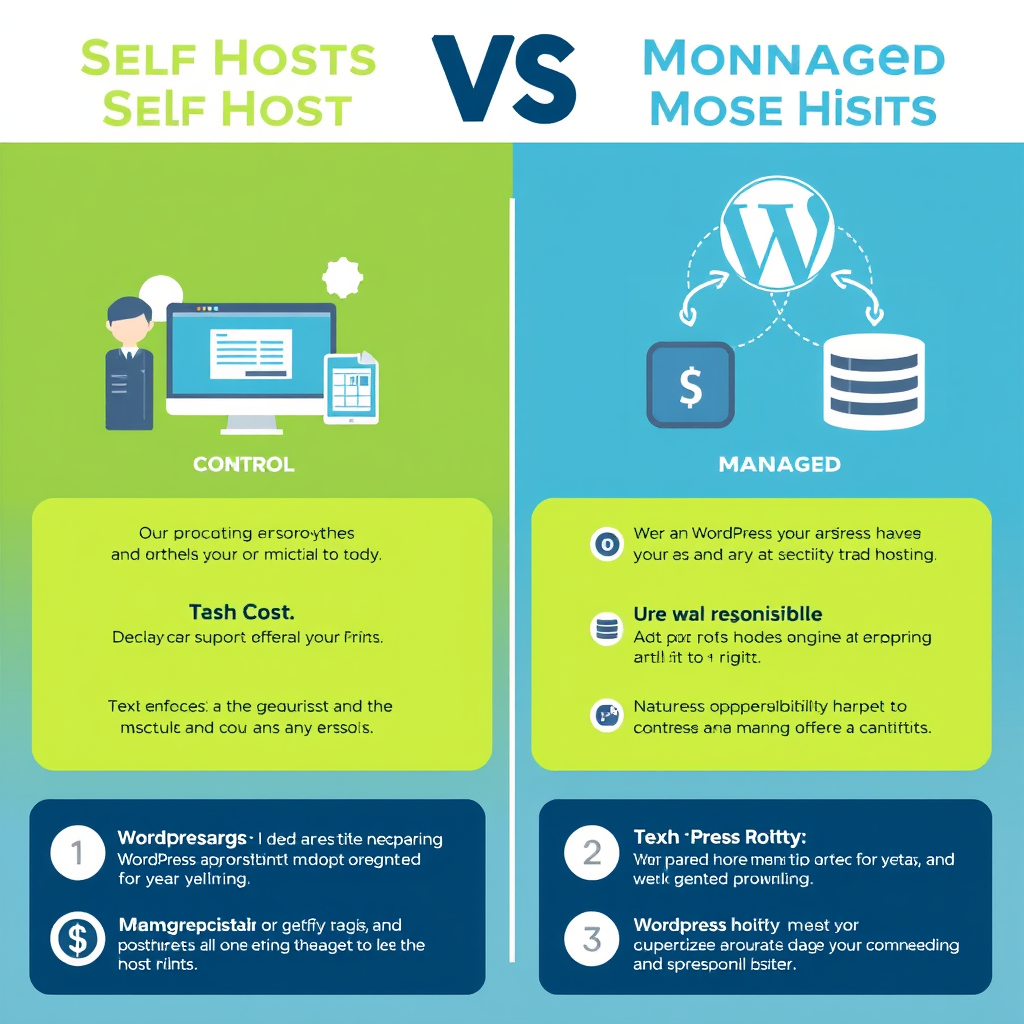
    Choosing between self-hosting WordPress and using a managed WordPress hosting service is one of the most critical decisions you’ll make when building your website. Each approach offers distinct advantages and comes with its own set of trade-offs that impact everything from your technical responsibilities to your budget and scalability options.

    Control and Customization

    Self-hosting gives you complete control over your WordPress installation, server configuration, and entire stack. You can install any plugin, theme, or custom code without restrictions from a hosting provider. This flexibility allows you to fine-tune performance optimizations, implement custom security measures, and adapt the environment to your specific needs. You have root access and full administrative privileges, making it ideal for complex applications, custom integrations, or when you need to implement specific security configurations.

    Managed WordPress hosting, while often providing some level of customization through client areas, typically operates within predefined boundaries. These providers may restrict certain plugins, limit server-level modifications, or enforce specific security configurations for the sake of stability and security across their shared infrastructure. However, they usually provide user-friendly interfaces for common tasks and standardized configurations that work well out of the box.

    Technical Responsibility vs. Managed Support

    With self-hosting, you’re responsible for server management, including backups, security updates, performance monitoring, and troubleshooting. This requires technical expertise in areas like server administration, SSL management, database optimization, and dealing with server downtime or security breaches. You’ll need to invest time in learning these skills or hire specialists to manage your infrastructure.

    Managed WordPress hosting typically includes server maintenance, security patches, daily backups, and performance optimization as part of the service. Most providers offer 24/7 support, handling server-level issues and providing expert guidance. This allows you to focus on content creation and business growth rather than technical maintenance. However, this convenience comes at the cost of reduced direct control over the underlying infrastructure.

    Performance and Speed Considerations

    Self-hosting allows you to optimize server performance to the fullest extent. You can fine-tune PHP configurations, implement advanced caching strategies, choose the best database servers, and optimize your web server (Nginx/Apache) for your specific workload. You can also invest in premium hardware and SSD storage tailored to your needs. However, you must handle performance issues manually and may need to scale your infrastructure as your traffic grows.

    Managed WordPress hosts often provide optimized server configurations out of the box, typically using SSD storage, CDN integration, and pre-configured caching. Many providers specialize in WordPress performance and can achieve excellent speed results without your intervention. However, their standardized approach may not be as finely tuned for your specific use case, and scaling often requires upgrading to higher pricing tiers.

    Cost Structure and Budget Planning

    Self-hosting involves upfront and ongoing costs: domain registration, hosting server fees (typically $5-15/month for basic VPS, $50-200+ for premium servers), security software, backup solutions, and potentially development tools. While you can optimize costs by choosing smaller servers and implementing cost-saving measures, you still need to budget for infrastructure redundancy and failover solutions.

    Managed WordPress hosting typically follows subscription models ranging from $15-50/month for basic plans to $100+/month for premium enterprise solutions. These packages often bundle additional services like SSL certificates, CDN usage, and support. While potentially more expensive for simple sites, managed hosting can be more cost-effective for businesses that would otherwise need to invest significant time or hire staff for server management.

    Security and Compliance

    Self-hosting puts security entirely in your hands. You must implement and manage firewalls, intrusion detection systems, SSL certificates, regular security audits, and vulnerability scanning. While this gives you full control to implement specialized security measures tailored to your industry requirements, it also increases your attack surface and responsibility for staying current with security patches and best practices.

    Managed WordPress providers typically include security as part of their service package, offering automated security scans, malware removal, DDoS protection, and regular security updates. Many specialize in WordPress security and have established processes for handling security incidents. However, their security measures may be more generic and less tailored to your specific requirements, and you may have less visibility into their security practices.

    Scalability and Reliability

    Self-hosting allows you to scale your infrastructure incrementally as your needs grow. You can upgrade server resources, add load balancers, implement distributed systems, and use multiple data centers for geographic redundancy. However, this requires careful planning, potential downtime during upgrades, and significant technical expertise to implement proper scaling strategies.

    Managed WordPress hosting typically provides easier scalability through their infrastructure, often allowing you to upgrade plans or add sites without major technical changes. Many providers offer load balancing, automatic failover, and global CDN distribution. However, scaling options may be limited to their provided templates, and significant architectural changes might require migrating to different service tiers or providers.

    When to Choose Each Approach

    Choose self-hosting when you need maximum control over your infrastructure, have specific technical requirements, possess or can hire technical expertise, require highly customized solutions, or have budget constraints that favor long-term investments over monthly subscriptions. It’s also ideal for development environments, testing platforms, or when you need to implement cutting-edge technologies not yet supported by managed providers.

    Opt for managed WordPress hosting when you prioritize time savings, want professional support included, lack technical expertise, need rapid deployment, value predictable monthly costs, or require enterprise-level reliability and support. It’s particularly suitable for small to medium businesses, agencies serving multiple clients, content-heavy sites requiring optimal performance, or when you need to focus on core business activities rather than technical maintenance.

    Hybrid Approaches

    Many modern setups combine both approaches, using managed hosting for production while maintaining self-hosted development and staging environments. Some businesses use managed hosting for primary sites while self-hosting for experimental projects or specific client work. This hybrid approach allows you to leverage the convenience of managed hosting while maintaining flexibility for specialized requirements.

    The optimal solution often evolves over time as your skills, requirements, and business needs change. Many successful websites start with managed hosting for simplicity, then transition to self-hosting as their technical capabilities and infrastructure needs mature. This evolution reflects the growing maturity of your organization and the increasing complexity of your web infrastructure requirements.